If you’re looking to refresh your device’s screen, knowing how to remove a screen protector without causing damage is essential.
A phone’s glass screen protector is like a shield, protecting your device’s screen from the wear and tear of everyday use. But, like all protective gear, screen protectors don’t last forever. If yours is cracked, chipped, or simply worn out, it’s time to replace it.
This guide will show you exactly how to remove and replace your phone’s glass screen protector, ensuring your device remains in top condition.
These instructions apply to most screen protectors on any smartphone or tablet, including iPhone and Android.
Table of Contents
How to Remove a Screen Protector
Phone screen protectors last only so long before they need to be replaced due to scratches or cracks. Many users are wary of removing the old screen protector themselves, but the process is simple. There are two methods for removing the glass screen protector on your phone:
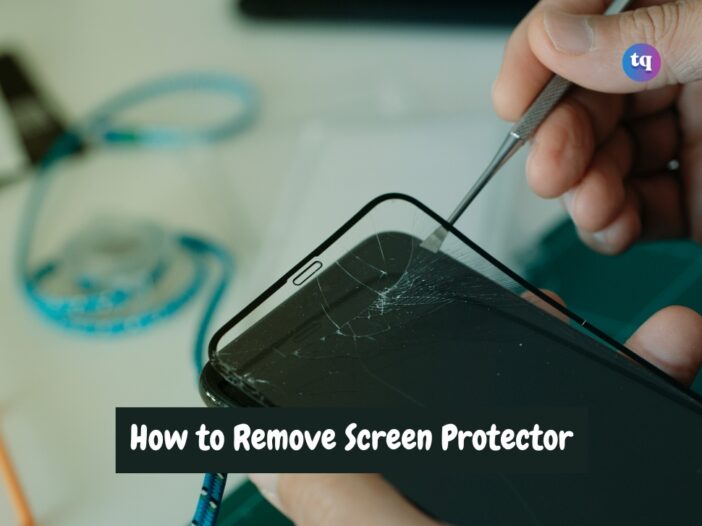
1. The Hands-On Approach
- Before you begin, use a hairdryer on a very low setting on your screen for about 15 seconds to loosen the adhesive on the screen protector. Don’t overdo it. Be gentle and use a low heat setting.
- Gently try to lift the screen protector from each corner using your fingernail. One corner should be loose enough to give you something to work with.
- Once a corner is loose, pull up gently from the corner.
- Begin peeling the protector up along its sides. This will keep it stable and help prevent it from breaking apart before you can get it completely off. Go slowly as you do this to keep the screen protector in one piece.
2. Toothpick and a Credit Card
If your fingernails aren’t doing the trick, try using a toothpick instead.
- Use a toothpick to gently pry up the screen protector at one of the corners. If one corner isn’t coming loose, try another.
Make sure to point the sharp end of your toothpick up and away from the screen rather than down and toward it so you don’t damage your screen. - Once a corner is loosened, use your fingers to gently pull it up and away from the phone.
- Begin peeling the protector up along the sides. Go slowly, as you don’t want to rush the job and tear your screen protector into pieces.
- Slide a credit card into the gap to gently lift the screen protector off the phone.
How to Replace the Screen Protector on Your Phone
Once you’ve successfully removed the old screen protector, it’s time to replace it. Make sure your hands are clean, and gently clean your phone’s screen with a microfiber cloth or appropriate screen cleaner.
If your screen protector doesn’t come with any special solution, use the dry mounting method. If it did, use the wet mounting method.
1. Dry Mounting a Screen Protector
- Peel the film from the screen protector’s sticky side.
- Line up the screen protector with your phone’s screen, taking extra care to ensure it’s perfectly aligned with the device from all sides.
- Gently place the screen protector on top of your screen, starting at one end and gradually moving to the other. Take your time.
- Take the film off the top of your screen protector. You should see a clean surface.
Use a credit card, microfiber cloth, or the installation card that came with your new screen protector to smooth out any bubbles as you apply it; start at the center and push the bubbles out toward the edges of your screen in short, quick movements.
2. Wet Mounting a Screen Protector
Some screen protectors come with a special solution to use during application. Only use the solution that came with your specific brand of screen protector.
- Spray the special solution on the front and back of the screen protector. This will keep it moist during the installation process.
You might need to spritz it a couple more times as you install the screen protector to keep it from getting too dry. - Gently place the screen protector on top of your phone’s screen, starting at one end and gradually moving to the other end. Take your time.
- Use the squeegee that came with your kit to squeeze the excess solution out from under the screen protector. Start in the center, then gently push it out toward the edges. Hold firmly onto the protector so it doesn’t move around.
- Leave the screen protector to dry for at least half an hour so it will fully bind to your phone’s screen.
- Once you’ve got your brand-new tempered glass screen protector in place, your phone will look as good as new and you can begin using it again.
Conclusion
Replacing a phone’s glass screen protector is a straightforward process that can be done at home with the right tools and a bit of patience. By following the steps outlined in this guide, you can ensure your phone’s screen remains protected and free from scratches, cracks, and other damage.
FAQs
You can reapply screen protectors, but, like anything with adhesive, the screen protector will lose its stickiness if you try to reapply too many times. Also, if you don’t remove it correctly, you risk breaking the protector, whether a tempered glass or plastic protector.
No, you should always remove the old protector before applying a new one. Applying a new one over the old one can lead to poor adhesion and reduced effectiveness.
Some bubbles may be worked out on their own throughout a couple of days, but if not you’ll need to get rid of them manually. In that case, use something like a credit card to slowly work the bubbles out by pressing the edge of the card down and pushing or pulling it to one side of the screen protector. If the bubbles prove to be too difficult to push out manually, you may want to carefully pull up the screen protector and re-apply it.